![[Note]](/media/com_docimport/admonition/note.png) | Note |
|---|---|
|
This feature is only available in the Akeeba Backup Professional edition |
Sometimes you may have accidentally deleted a backup record from the Manage Backups (formerly "Administer Backup Files") page, or simply want to restore a backup file taken from another site. Normally, the only way to do that is to upload the archive file and Kickstart to your site and launch the restoration process from there. However, some users insisted that they are better off doing that from inside Akeeba Backup itself. In order to accommodate for their needs, we introduced the Discover and Import Archives features in Akeeba Backup 3.2.
This feature allows you to automatically find and import archives stored anywhere on your account. This means that you can upload backup archives anywhere in your site's folder structure, or even on a private off-site directory and Akeeba Backup will be able to import them. All backup archives are imported as backup records of the default backup profile (profile with ID #1) and can be restored just like any other backup archive.
In order to launch this feature, go to the Manage Backups (formerly "Administer Backup Files") page and click on the button on the toolbar. A new page appears which lets you select a directory.
![[Tip]](/media/com_docimport/admonition/tip.png) | Tip |
|---|---|
|
Since Akeeba Backup 3.4.a1 you have the option to import archives from Amazon S3. Click the link directly above the directory selection box. It will take you to a slightly different page where you can enter the connection credentials to your S3 account and allow you to browse for ZIP and JPA files to import. |
The "Discover and Import archives" page
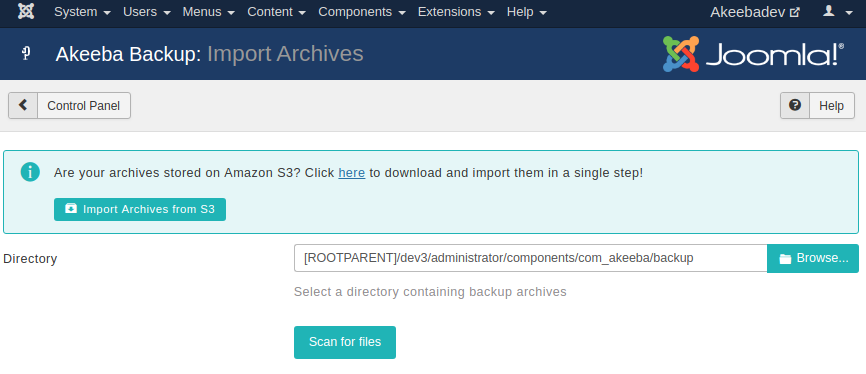
Use the button to open an interactive folder browser in a modal dialog. Navigate to the directory which contains the uploaded backup archives and click on the Use button. The dialog closes and you can now click on the button to let Akeeba Backup search for backup archives inside that directory. You are presented with a new page, listing the discovered backup archives.
Importing discovered archives
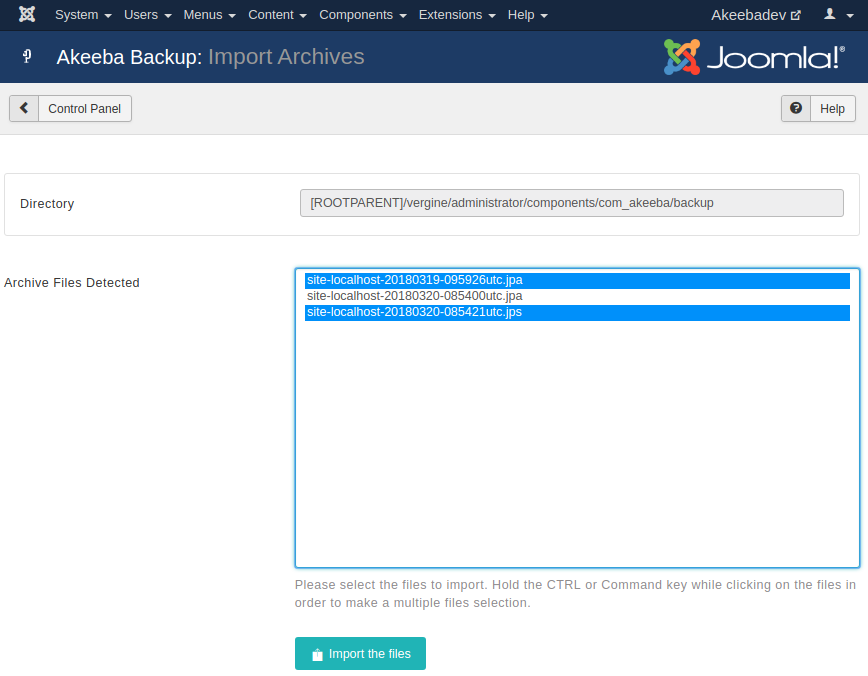
Select the backup archive you want to import by clicking on them. If you want to select multiple files, Control-click (Windows, Linux) or Command-click (Mac OS X) the archive you want to import. After that, click on the button. After a short while Akeeba Backup takes you back to the Control Panel page with a message that the import operation completed successfully. You can now click on the Manage Backups (formerly "Administer Backup Files") button to view the newly imported backup archives. You can now download or restore the imported backup archives.